A Practical Guide to Electrode Polishing: Surface Preparation for Electrochemistry
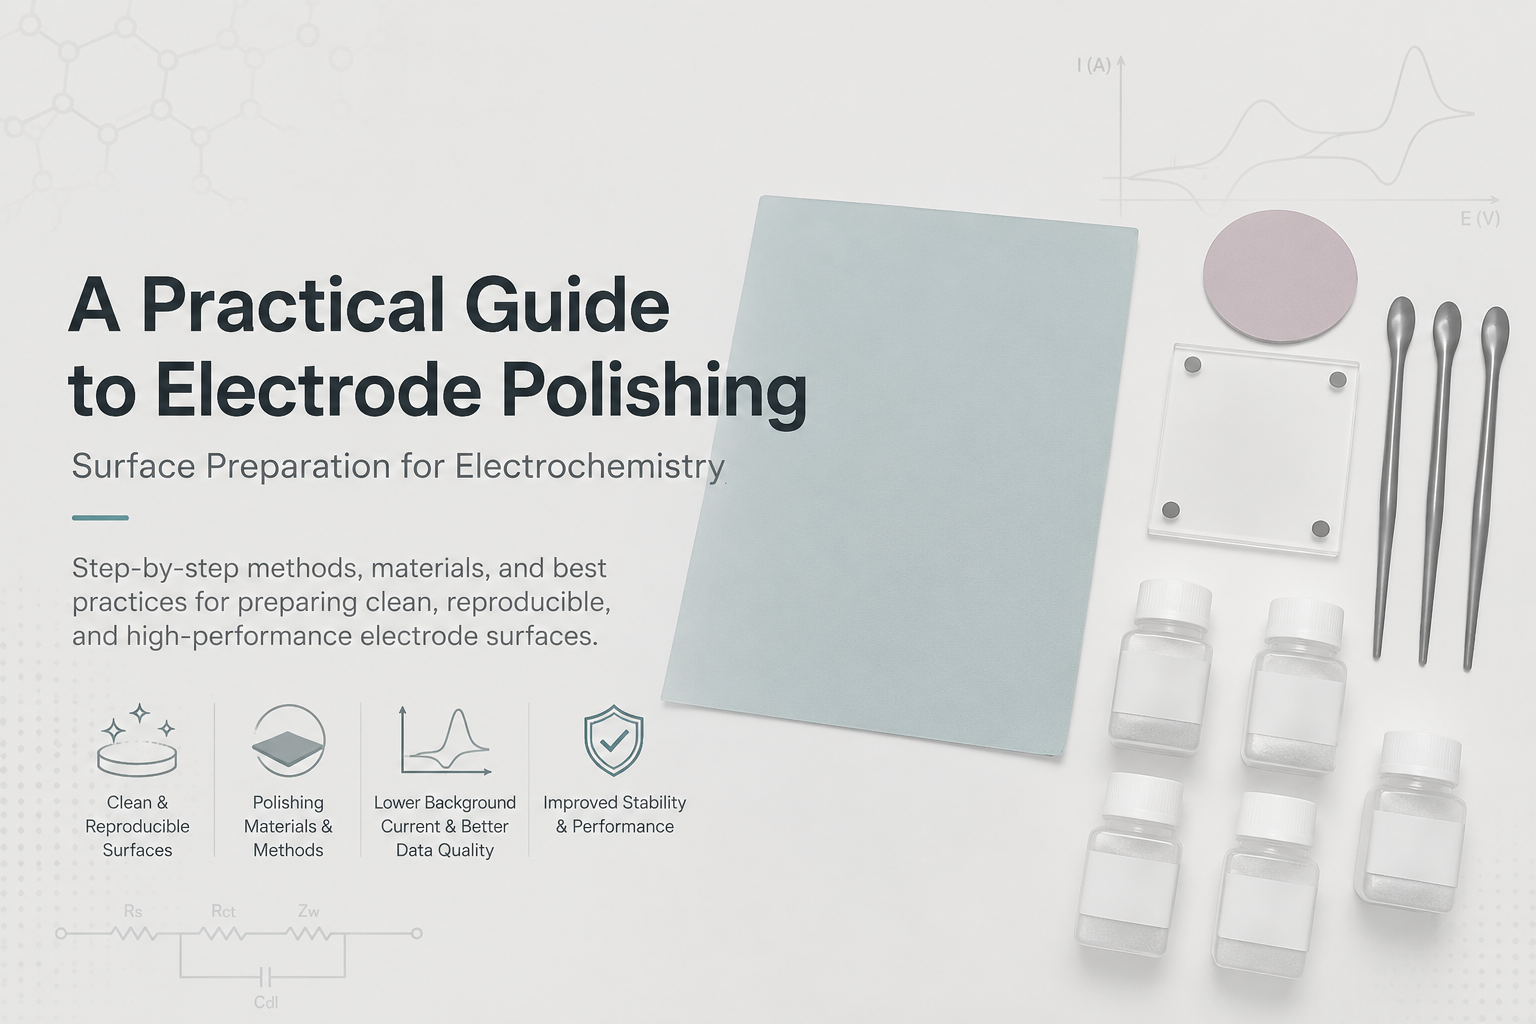
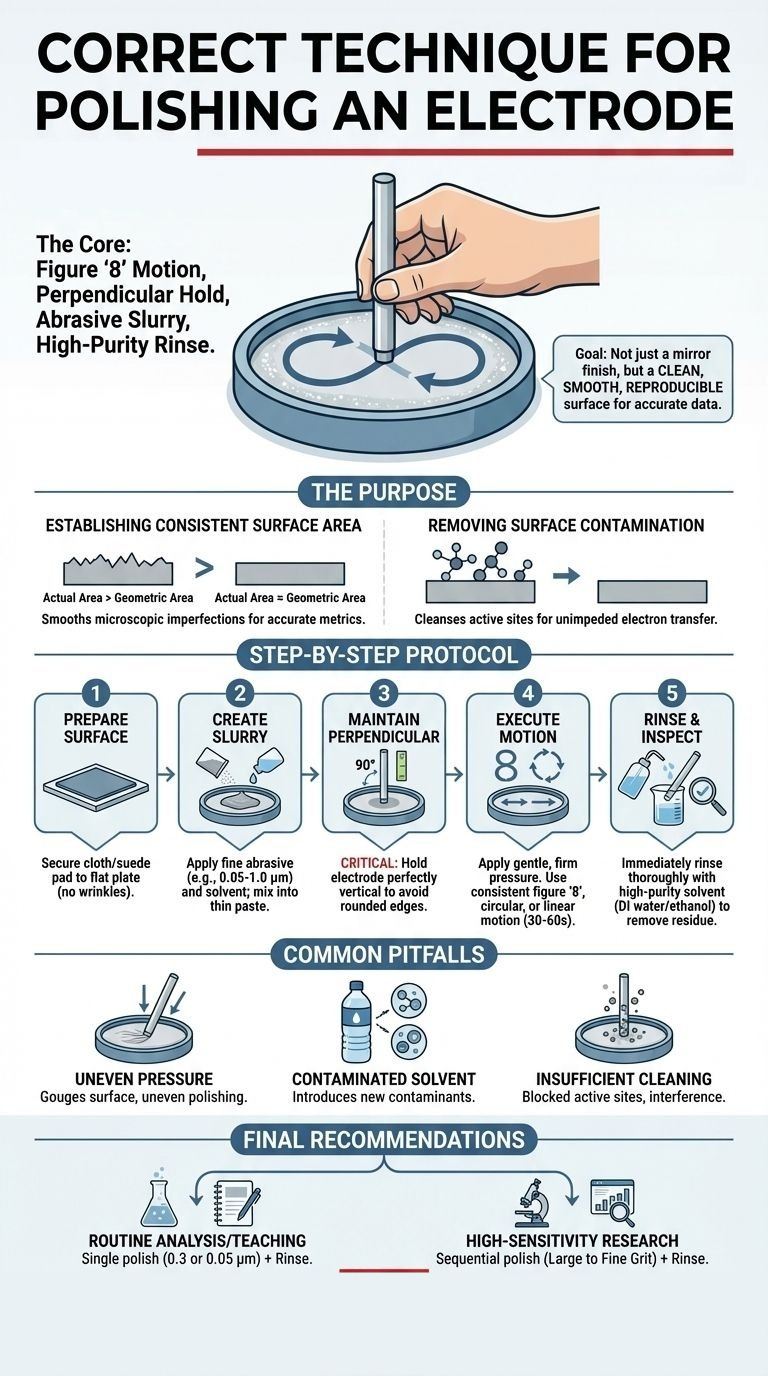
Well-prepared electrode surfaces are one of the most important factors for obtaining stable and reproducible electrochemical data. This guide summarizes practical, lab-tested steps for mechanical polishing and cleaning of common solid electrodes, such as Au, Pt, and glassy carbon.
1. Why Electrode Polishing Matters
In most electrochemical experiments, the quality of surface preparation largely determines how trustworthy your results are. Proper polishing typically serves two key purposes:
1.1 Create a consistent and well-defined surface area
Mechanical polishing smooths microscopic scratches and pits on the electrode surface, making the real surface area as close as possible to the geometric area. If the surface is rough and irregular, the effective area can be much larger than expected, causing systematic errors in current density and related calculations.
1.2 Remove surface contamination and passive layers
The electrode surface is where electron transfer actually occurs. Adsorbed species from previous experiments, residual solvent, oxide layers, and organic contamination can all block active sites. Mechanical polishing followed by proper cleaning and electrochemical activation helps remove these layers and restores a clean, reproducible interface for your measurements.
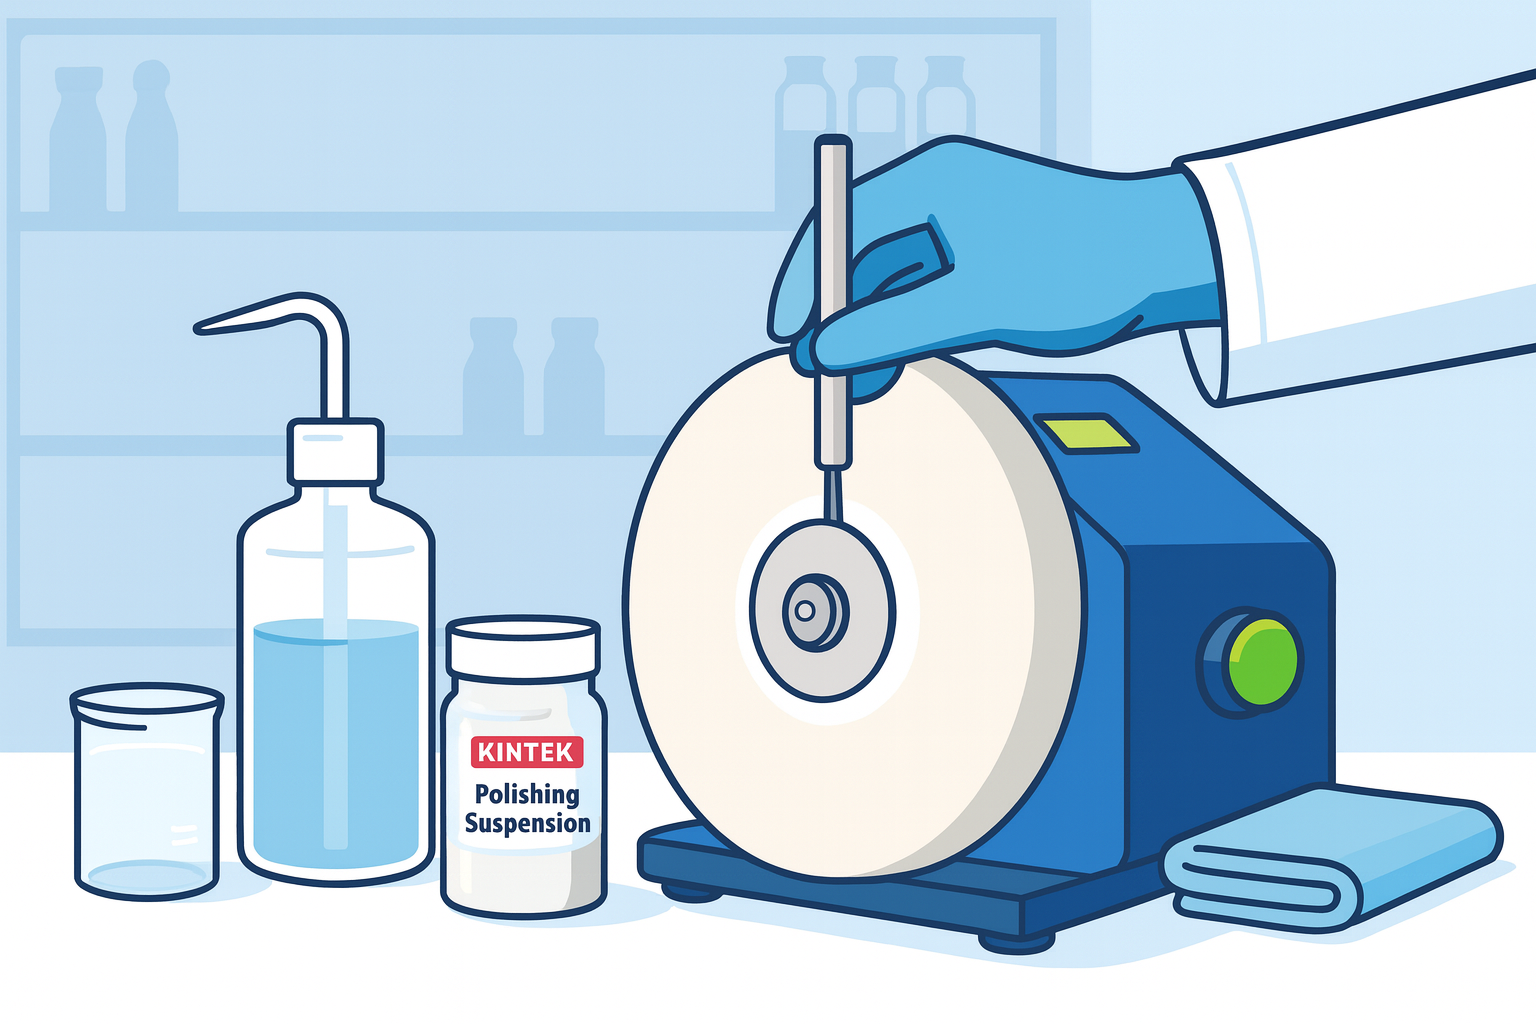
2. Mechanical Polishing: From Sandpaper to Mirror Finish
The workflow below is suitable for common solid electrodes such as gold (Au), platinum (Pt), and glassy carbon. You can fine-tune details for other materials, but the logic remains the same.
Step 1 — Prepare the polishing surface
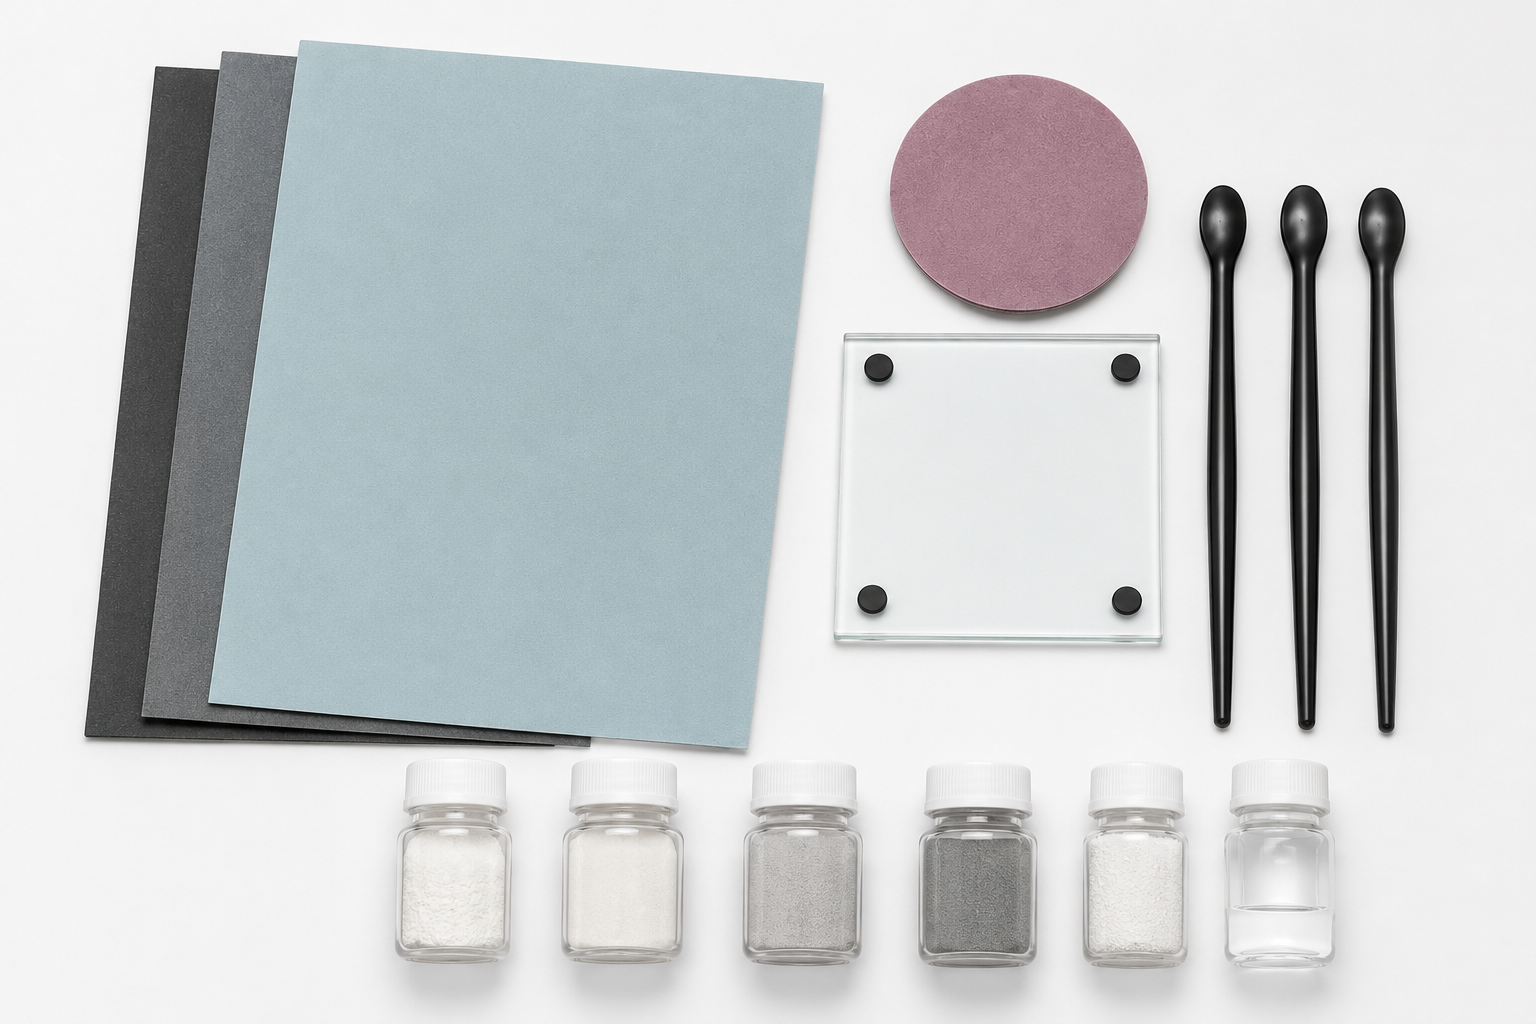
Secure the sandpaper or polishing cloth on a flat glass plate or polishing disk. Make sure there are no wrinkles or particles trapped underneath. For a new electrode, start with a coarse polishing using 2000–3000 grit sandpaper, then follow with 5000 grit to remove visible scratches and oxide layers.
Step 2 — Prepare the abrasive slurry
On the polishing cloth, add a small amount of polishing powder (for example Al2O3 with particle sizes of 1.5 µm → 0.5 µm → 0.05 µm in sequence), then add a few drops of deionized water or ethanol to form a uniform slurry. Using progressively finer particle sizes helps you achieve a flatter and smoother mirror-like surface.
Step 3 — Keep the electrode perpendicular
During polishing, the electrode body should be held strictly perpendicular (90°) to the polishing surface. If it is tilted, the edge can become rounded, effectively changing the geometric area and compromising the accuracy of current density calculations and comparative studies.
Step 4 — Perform the polishing motion
On the slurry-covered pad, move the electrode with light but steady pressure—let the abrasive do the work, not brute force. Common and effective polishing patterns include:
- Continuous figure-eight (“8”) trajectory
- Clockwise or counter-clockwise circular motion
- Straight back-and-forth linear motion
Keep the motion consistent and the rhythm stable. As a rule of thumb, 30–60 seconds per abrasive grade is sufficient for routine polishing.
Step 5 — Thorough rinsing and inspection
Immediately after polishing, rinse the electrode thoroughly with deionized water or ethanol. Use a squeeze bottle to wash away all remaining abrasive particles. If needed, briefly sonicate the electrode in a suitable solvent (only if the electrode design and materials tolerate ultrasound). Finally, inspect the surface to confirm a smooth, uniform, scratch-free, and particle-free finish.
3. Common Pitfalls and How to Avoid Them
3.1 Uneven or excessive pressure
Excessive pressure can cause deep scratches or over-polish certain areas. Use a light, even force and let the abrasive slowly remove the surface layer instead of pressing hard on the electrode.
3.2 Contaminated rinse solvents
Using tap water or low-purity solvents can re-introduce ionic or organic contamination onto a freshly polished surface. Always use high-purity deionized water or analytical-grade ethanol for rinsing.
3.3 Incomplete removal of polishing slurry
If alumina or other abrasive particles remain on the electrode, they can block active sites and cause lower current responses or distorted peak shapes. Sufficient rinsing and, when appropriate, brief sonication are critical steps that should not be skipped.
4. Combining Mechanical Polishing with Electropolishing and Activation
For routine analytical work or teaching laboratories, following the mechanical polishing steps above and finishing with 0.3 µm or 0.05 µm alumina, followed by thorough rinsing, is usually sufficient to obtain stable and reproducible data.
For high-sensitivity research or detailed surface studies, you may add chemical or electrochemical treatments after mechanical polishing—for example, anodic or cathodic activation in a suitable electrolyte. For stainless steel and other metals, combining mechanical polishing with electropolishing can further reduce surface roughness and improve reproducibility.
5. Summary of Steps and Objectives
| Step | Key action | Objective |
|---|---|---|
| 1. Preparation | Fix sandpaper/polishing cloth on a flat support | Provide a stable and well-controlled polishing platform |
| 2. Slurry preparation | Apply abrasives in decreasing particle size and make a slurry | Achieve continuous and controlled surface abrasion |
| 3. Polishing | Hold the electrode perpendicular and use figure-eight/circular motion | Obtain a uniform, flat surface with well-defined geometry |
| 4. Rinsing | Rinse with high-purity DI water/ethanol ± brief sonication | Completely remove abrasives and residual contaminants |
| 5. Inspection | Visually inspect or verify by electrochemical testing | Confirm a clean, smooth, and electrochemically reproducible surface |